In This Article
Tools Required
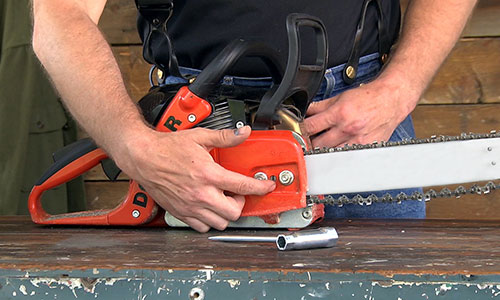
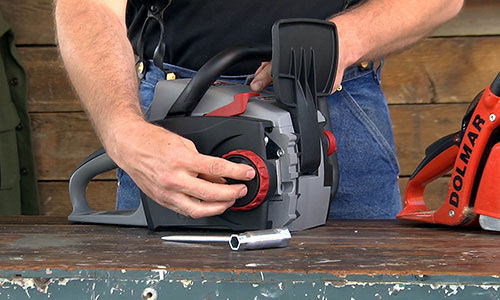
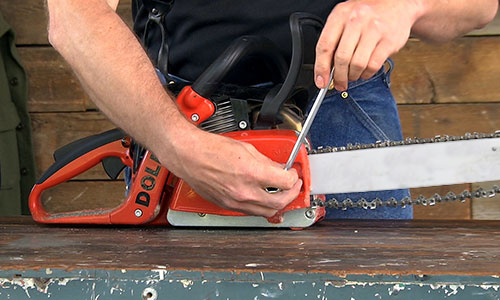
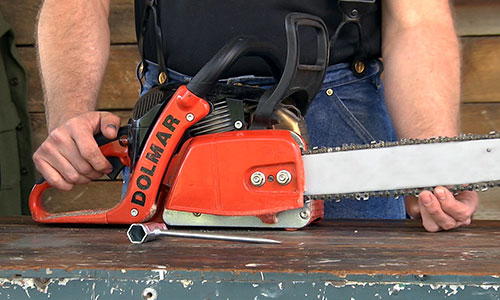
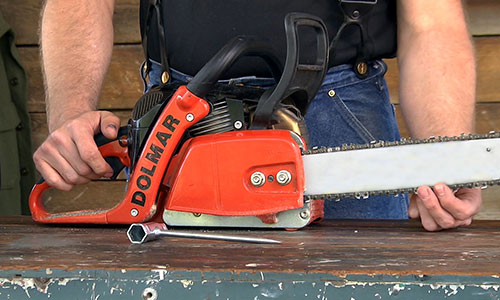
- Chainsaw Scrench or Screwdriver
- Gloves
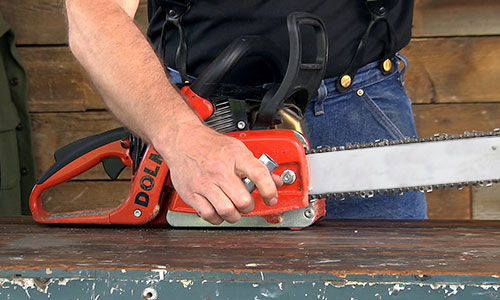
This article is meant to be a starting point for learning how to tension your chainsaw chain. For more information, refer to the operators manual for your saw, the instructions included with your saw chain and/or guide bar, and Oregon Product Support Videos.
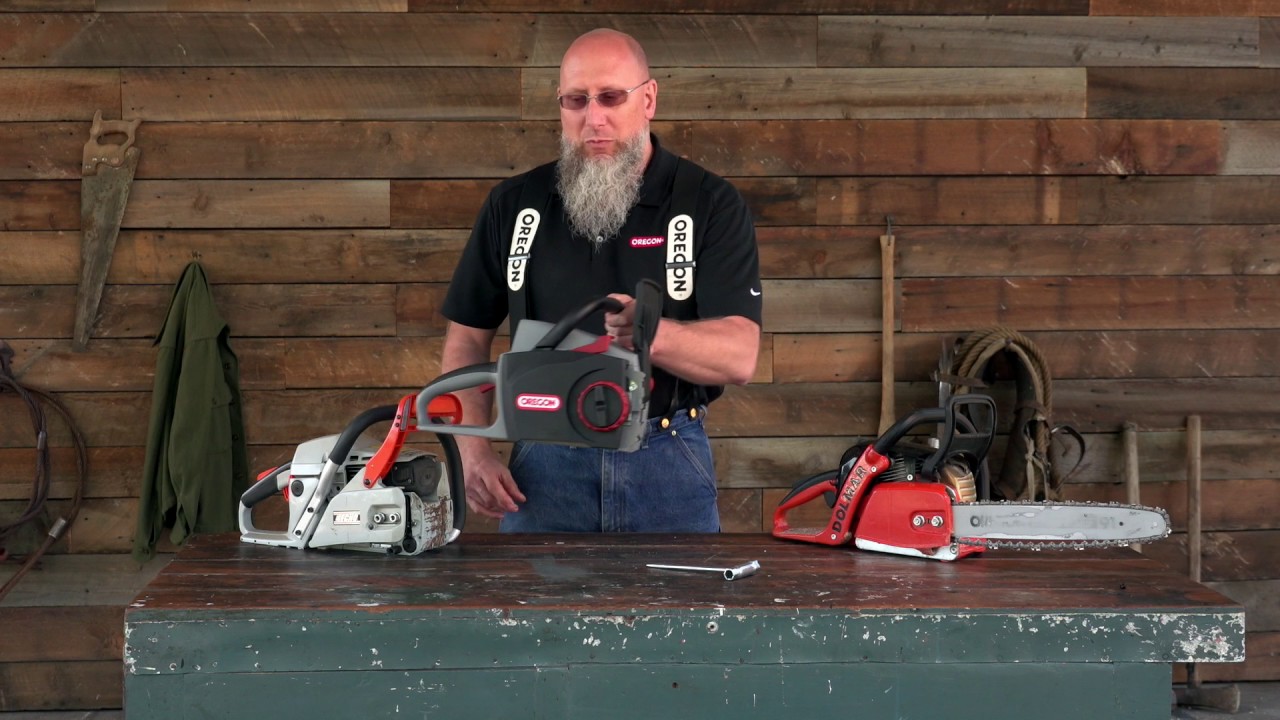
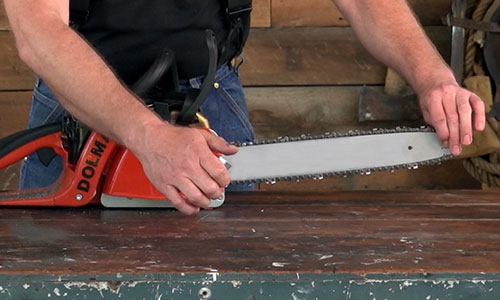
Oregon urges you to become familiar with proper saw chain maintenance techniques, and be aware of the possible dangers which can result if saw chain is not properly maintained. Always wear proper protective apparel when operating or maintaining a chainsaw. Check your chainsaw's chain tension frequently during operation.

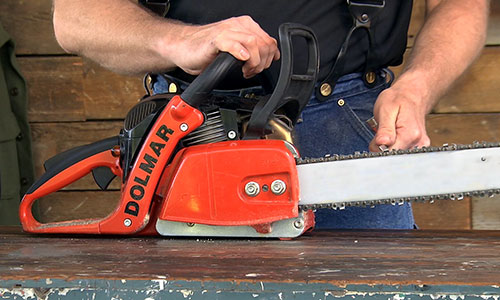
Oregon strongly encourages safe work practices and always recommends the use of appropriate safety apparel. Persons demonstrating technical product information in videos or photography do not necessarily represent proper safety habits for any given task.